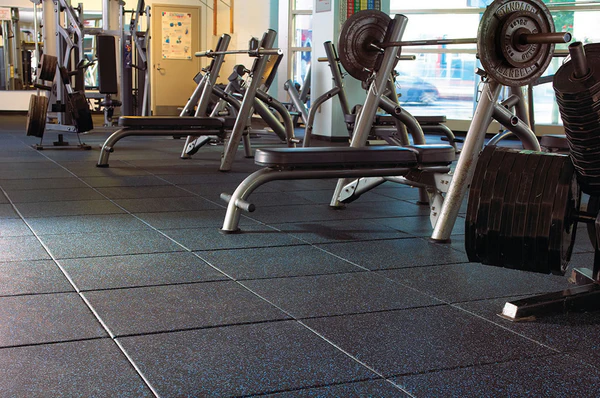
Rubber Gym Flooring in Dubai are a popular choice for fitness enthusiasts and gym owners alike, offering durability, shock absorption, and versatility. Whether you're setting up a home gym or renovating a commercial fitness facility, proper installation is essential to ensure the longevity and performance of your rubber gym floor. At Z&S Carpets, we're here to guide you through the installation process, step by step, so you can enjoy a seamless and successful flooring project.
Step 1: Prepare the Subfloor
Before installing your rubber gym floor, it's crucial to prepare the subfloor properly. Start by cleaning the surface to remove any debris, dust, or dirt. Ensure that the subfloor is level and free from any bumps or imperfections that could affect the installation process. If necessary, use leveling compound or patching material to smooth out uneven areas and create a stable foundation for your rubber gym floor.
Step 2: Acclimate the Rubber Tiles
Rubber gym floor tiles may expand or contract depending on temperature and humidity levels. To prevent buckling or warping after installation, it's essential to acclimate the tiles to the room's environment before laying them down. Stack the rubber tiles in the installation area and allow them to adjust to the room's temperature and humidity for at least 24 to 48 hours before proceeding with installation.
Step 3: Plan the Layout
Once the subfloor is prepared and the rubber tiles are acclimated, it's time to plan the layout of your gym floor. Start by determining the starting point of the installation, usually in a corner or along a wall. Measure the dimensions of the room and calculate the number of rubber tiles needed, taking into account any cuts or adjustments that may be required around obstacles or edges.
Step 4: Install the Rubber Tiles
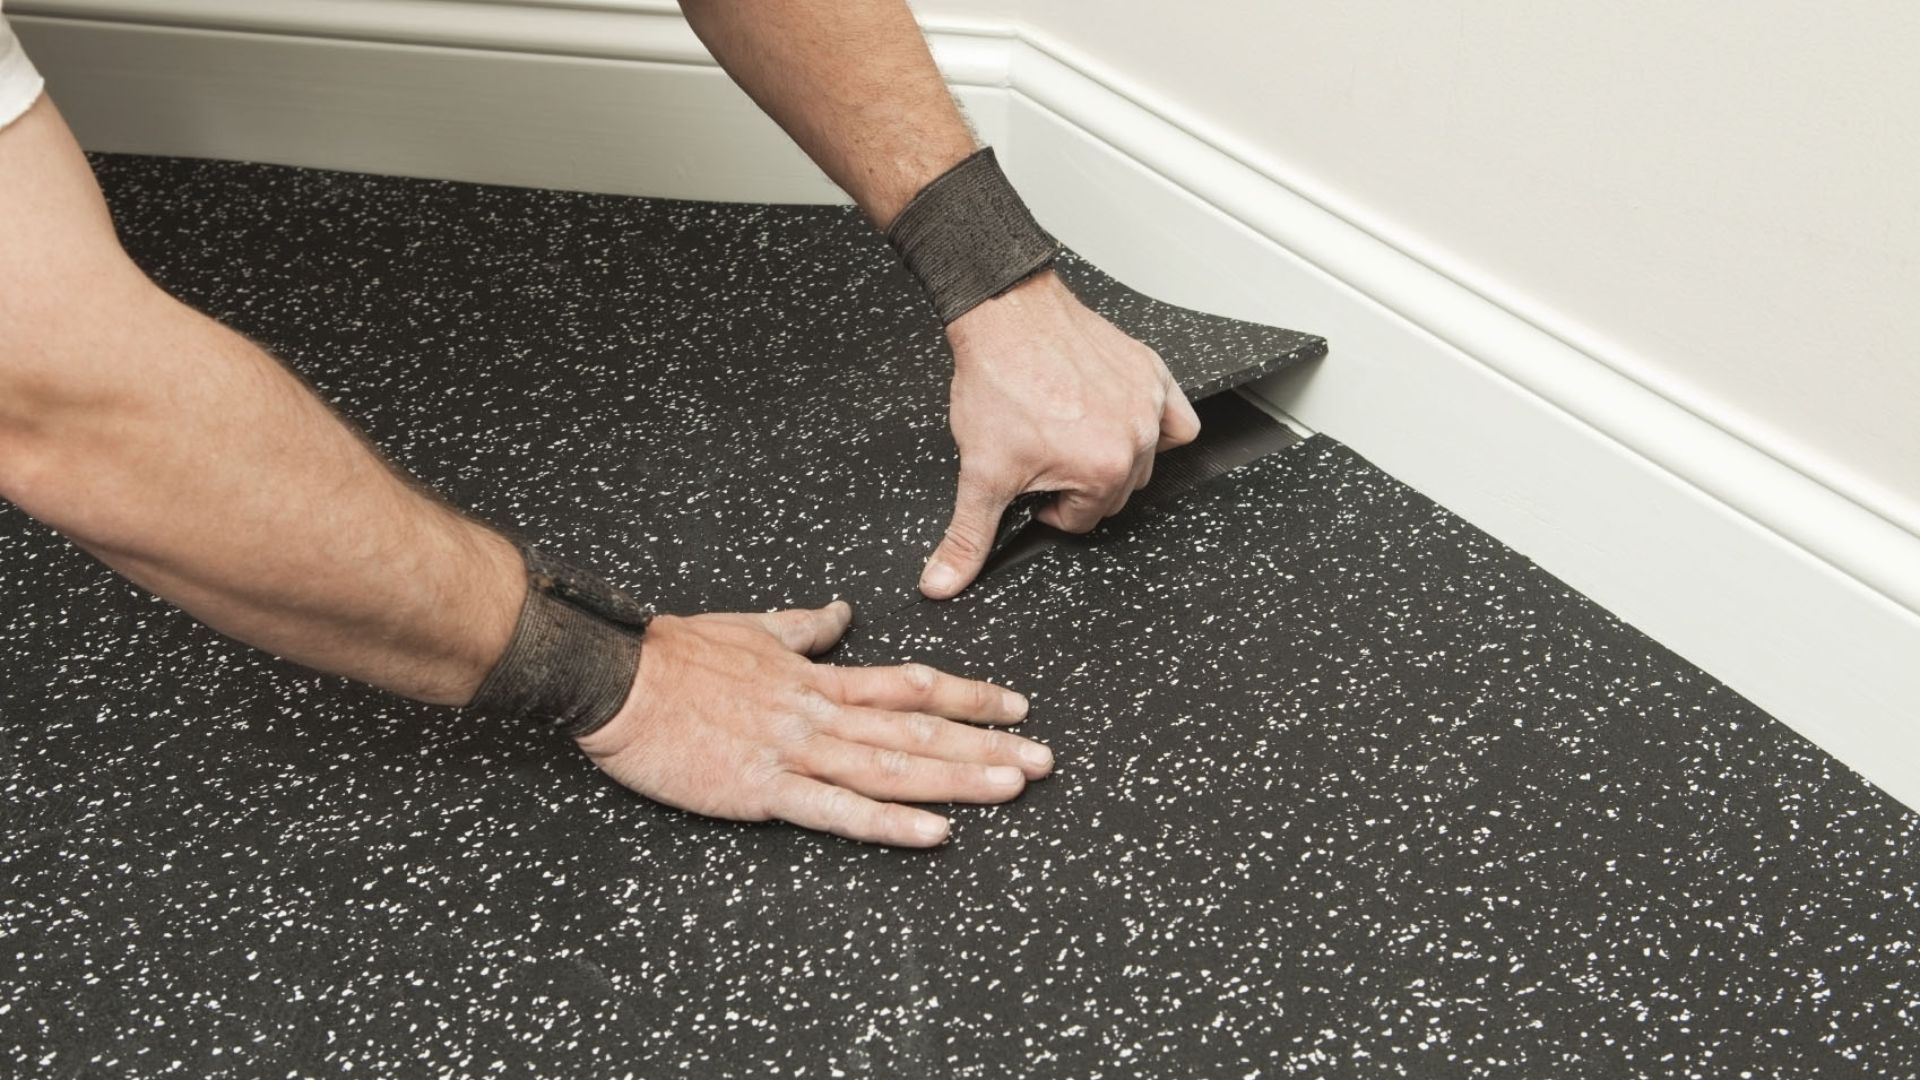
Begin the installation process by laying down the first rubber tile in the predetermined starting point. Use double-sided carpet tape or adhesive recommended by the manufacturer to secure the tile to the subfloor firmly. Continue laying down the rubber tiles, working row by row, and ensuring tight seams between each tile to create a seamless finish. Use a rubber mallet or hand roller to press the tiles into place and eliminate any air bubbles or gaps.
Step 5: Trim and Finish
As you approach the edges of the room or encounter obstacles such as pillars or equipment, you may need to trim the rubber tiles to fit. Use a utility knife or sharp scissors to make precise cuts, ensuring a snug fit around corners and edges. Once all the tiles are installed, go over the entire floor with a hand roller to ensure proper adhesion and a smooth finish.
Step 6: Maintain and Enjoy
With your rubber gym floor properly installed, it's essential to establish a regular maintenance routine to keep it clean and in top condition. Sweep or vacuum the floor regularly to remove dust and debris, and use a mild detergent or rubber floor cleaner to spot clean as needed. Avoid using harsh chemicals or abrasive cleaning tools that could damage the rubber surface.
Congratulations! You've successfully installed your rubber gym floor, providing a durable, shock-absorbing surface for all your fitness activities. For professional installation services and high-quality rubber gym floor options, trust Z&S Carpets to bring your fitness space to life. Contact us today to learn more about our products and services.